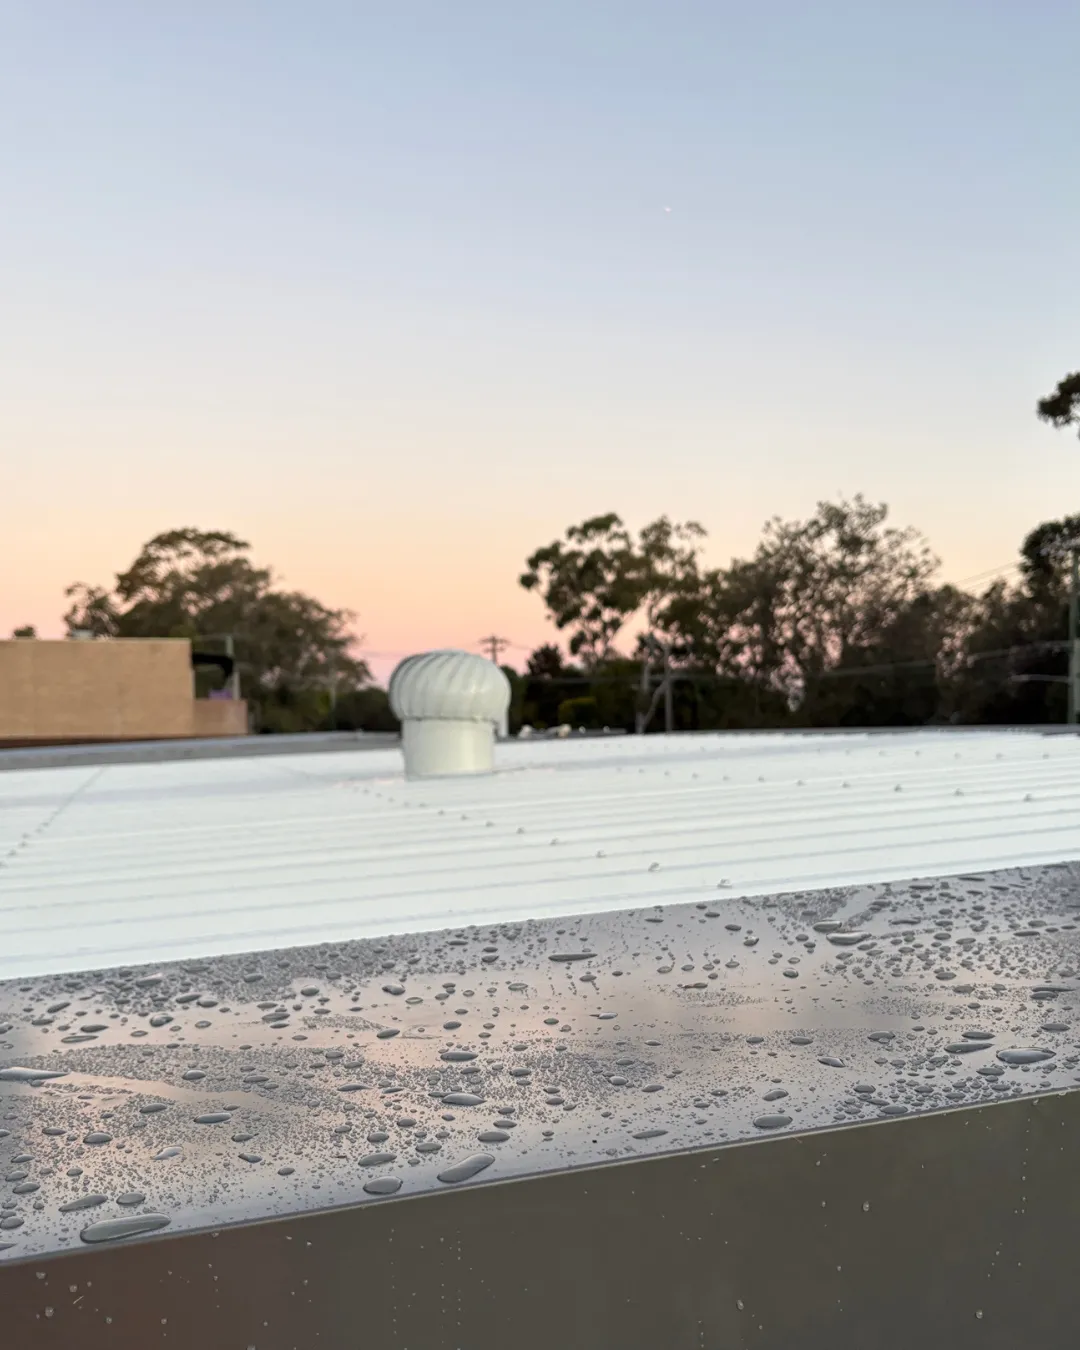
Whirlybirds Explained: How They Work, and Are Solar Whirlybirds Worth It?
If you've ever stood in your hot roof space in the summer and wondered why the house upstairs feels ten degrees hotter than it should, a whirlybird (roof ventilator) is one of the simplest, lowest-maintenance fixes available. They're a common sight across Lake Macquarie roofs; however, most homeowners don't actually know how they work, when they're worth installing, or whether the powered or solar-powered versions are a genuine upgrade or just a more expensive spin on the same idea. Here's the full picture.
What a whirlybird actually does
A whirlybird sits on the roof and uses wind movement to spin a turbine, which draws hot, stale air out of the roof cavity and pulls cooler outside air in through eave or gable vents to replace it. It's a passive ventilation system — no electricity, no motor, just wind doing the work. The spinning motion creates a low-pressure zone inside the turbine that continuously extracts air from the roof space, even in relatively light wind.
Why roof cavity heat matters more than people think
In summer, an unventilated roof cavity can reach significantly higher temperatures than the outside air — sometimes 20–30°C hotter on a hot, still day. That heat doesn't stay in the roof; it radiates down through the ceiling into living spaces below, which means your air conditioning is working harder than it needs to just to fight heat that a whirlybird could have removed for free.
In winter, roof ventilation plays a different but equally important role: reducing moisture buildup in the roof cavity, which helps prevent condensation, mould, and the slow deterioration of roof timbers and insulation that comes with prolonged dampness.
Standard whirlybirds: what to know
Wind-dependent: they only work when there's wind to spin the turbine, which means on a still, hot day — often exactly when you want ventilation most — a standard whirlybird can be doing very little
Low maintenance: no power source means very little to go wrong, though bearings can wear out over years of use and start squeaking, which is usually a simple bearing replacement rather than a full unit swap
Sizing matters: the number of whirlybirds needed depends on your roof cavity size — one undersized unit on a large roof won't move enough air to make a meaningful difference, which is a common reason people feel like "we already have one and it didn't help"
Solar whirlybirds: the upgrade explained
A solar whirlybird pairs the same basic turbine extraction concept with a small solar panel and motor, so the unit actively spins using solar power rather than relying purely on wind. This solves the biggest limitation of a standard whirlybird directly — it keeps extracting hot air on still, sunny days, which is exactly when roof cavity heat build-up is at its worst and exactly when a wind-only unit is least effective.
Where solar whirlybirds make a real difference
Properties in more sheltered positions where wind exposure is limited
Larger roof cavities where consistent, active extraction matters more than passive, wind-dependent airflow
Homes where summer cooling costs are a genuine concern and reducing roof heat load has a real flow-on effect to air conditioning use
The trade-offs
Higher upfront cost than a standard whirlybird
A solar panel and small motor mean there's slightly more that can eventually need servicing compared to a fully passive unit, though quality units are still very low-maintenance
Performance still tapers off on overcast days, though most units include a small battery or capacitor to keep some airflow going through low-light periods
Mains-powered whirlybirds: the third option
There's a third category worth knowing about alongside standard (wind-driven) and solar: mains-powered, hardwired electric roof ventilation fans. These run off household power rather than wind or a solar panel, and they're often overlooked in the standard-vs-solar conversation even though they solve a real gap between the two.
Advantages: airflow is completely independent of weather — no wind needed, no sun needed, works at night, works on overcast days, works year-round without variation. Generally capable of higher, more consistent extraction rates than either wind or solar-only units, since output isn't limited by ambient conditions or panel size. A useful option for roof cavities with a serious, persistent heat or moisture problem that a passive or solar unit hasn't resolved.
Disadvantages: requires an electrician to wire in, adds an ongoing (if modest) power cost, and needs a switch or thermostat control fitted somewhere accessible. Installation is more involved than a standard or solar whirlybird — it's not a straightforward roof-only job, since wiring needs to be run from the roof space to a power source. Not usually the first option reached for on a standard residential roof, but worth considering for larger homes, granny flats with persistent damp issues, or roof cavities where solar and wind options have already been tried without enough effect.
Best suited to: roof cavities with a genuine, ongoing heat or condensation problem, larger or more complex roof structures, and situations where consistent, weather-independent ventilation matters more than upfront simplicity or running cost.
Materials and build quality
Not all whirlybirds are built the same, and the material affects both lifespan and performance:
Colorbond steel: the most common choice, matched to roof colour, durable, and reasonably priced — a solid default for most homes
Aluminium: lighter and naturally corrosion-resistant, often a better choice for coastal properties (Eleebana, Bonnells Bay, and other lakefront or salt-exposed areas) where standard steel finishes can corrode faster over time
Polycarbonate/plastic components: sometimes used in cheaper units for the turbine head — generally fine, but worth checking UV-stabilised polycarbonate is used, since non-stabilised plastic can become brittle and crack within a few years of Australian sun exposure
Bearings are the part that actually determines a whirlybird's working life. Cheaper units use basic bushings that wear and start squeaking within a couple of years; better units use sealed stainless steel ball bearings rated for a much longer service life with minimal noise. This is the single biggest visible difference between a bargain hardware-store unit and a properly specified trade-supplied one — and it's not obvious until the cheap one starts squeaking on a windy night.
How many do you need, and where
This comes down to your roof cavity's square metreage and current ventilation (existing eave vents, gable vents, or lack thereof). As a general guide, larger or more complex roof cavities need more than one unit, positioned to draw air across the whole cavity rather than clustered in one spot. Getting this wrong — either undersizing or poor placement — is the most common reason people feel whirlybirds "don't do much," when the real issue is the installation, not the concept.
Standard, solar, or mains-powered: which one for your home
If your property gets consistent wind exposure and budget is the main factor, a well-sized standard whirlybird setup is still an effective, low-cost solution
If your roof cavity runs hot even on still days, or you're chasing every bit of extra summer cooling efficiency, solar whirlybirds are worth the extra spend
If you've got a genuine, persistent heat or moisture problem that standard or solar hasn't resolved — or a larger, more complex roof structure — a mains-powered unit gives you consistent, weather-independent extraction at the cost of a more involved (electrician-required) installation
Many properties benefit from a mix — solar or mains-powered units in the hottest, most heat-affected sections of the roof, standard units elsewhere
Whirlybirds versus other roof ventilation options
Whirlybirds aren't the only way to ventilate a roof cavity, and it's worth knowing how they compare:
Ridge ventilation: a continuous vent running along the roof ridge line, often paired with whirlybirds rather than used instead of them — good for even airflow across a large roof but generally needs to be designed in at roofing stage rather than retrofitted as easily
Gable vents: static vents in gable end walls that allow passive airflow — useful as an intake point working alongside whirlybirds (which act as the extraction point), rather than a substitute for them
Insulation: worth mentioning because it's often confused with ventilation — insulation slows heat transfer into the living space, while ventilation removes the hot air from the roof cavity in the first place. The two work together, not as alternatives to each other; a well-insulated but poorly ventilated roof still traps damaging heat and moisture in the cavity itself, even if less of it reaches the ceiling below.
Installation and flashing — where jobs actually go wrong
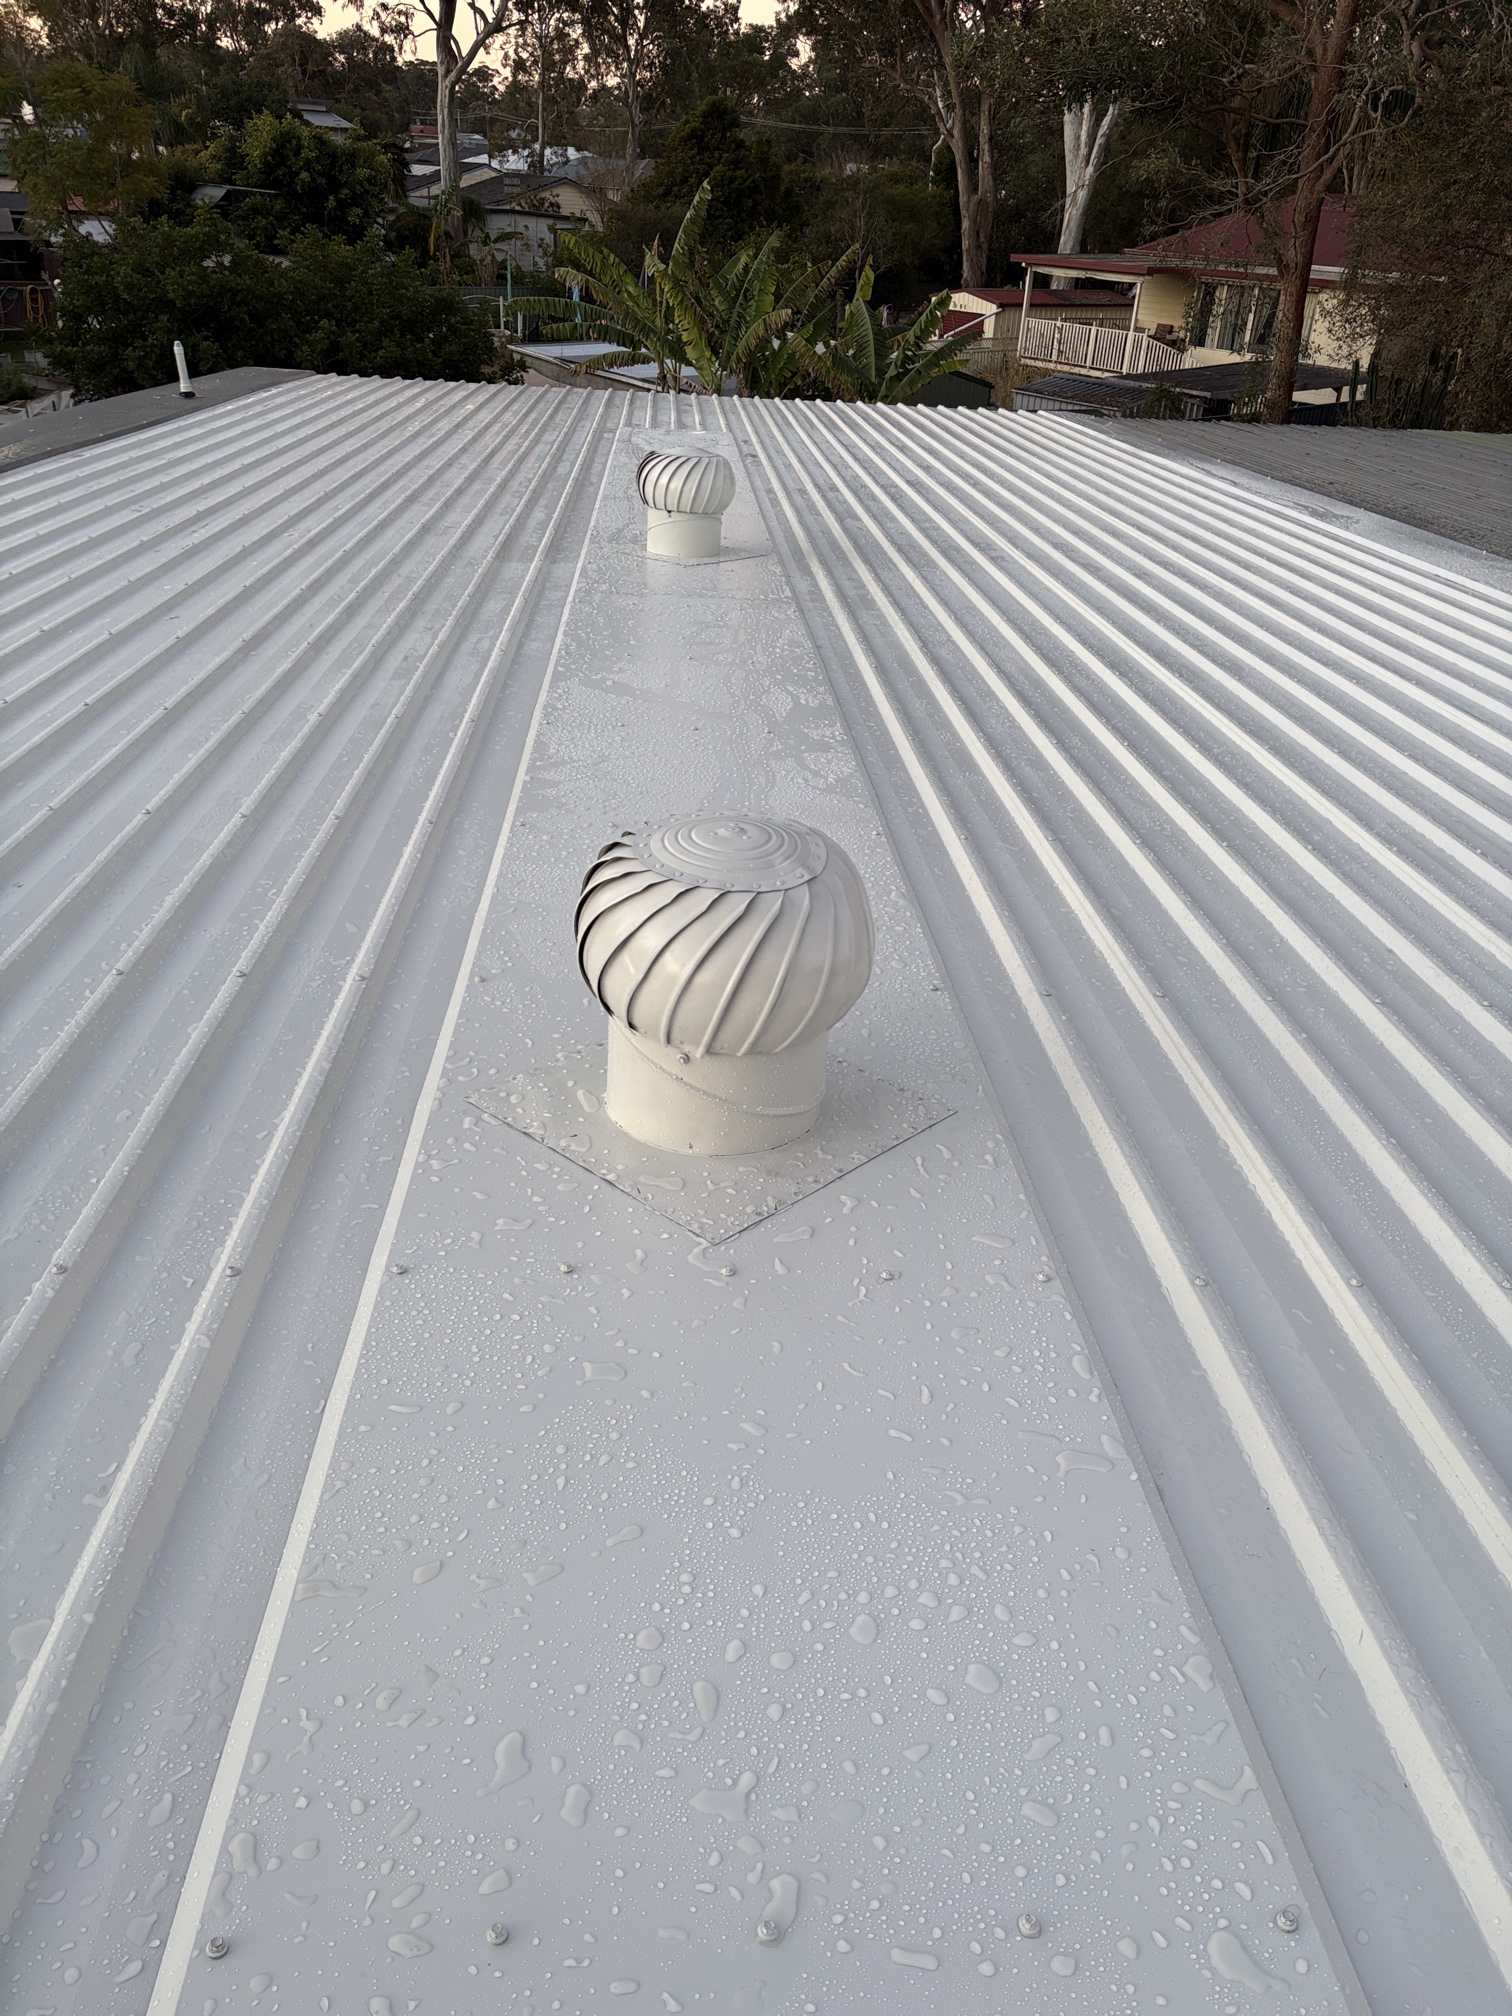
The turbine itself is a simple, reliable piece of equipment. Where whirlybird installations go wrong is almost always at the roof penetration:
Flashing at the penetration: the seal between the roof sheeting and the whirlybird base needs to be correctly fitted to the specific roof profile. Whirlybirds are typically installed at or near the ridge — the highest point of the roof — which means there's no upslope roof water flow reaching the penetration the way there would be for a fitting lower down the slope. Because of that, a whirlybird generally doesn't need a backtray the way a mid-roof penetration (a skylight, a lower vent) does; the seal instead relies on correctly profiled ridge or apron flashing matched to the roof sheeting. Getting that flashing detail wrong — rather than a missing backtray — is the actual common cause of a slow leak at a whirlybird penetration, and it's not something you can see from the ground or even easily from inside the roof cavity until water damage has already started
Placement relative to roof structure: units need to sit clear of structural framing and be positioned to actually draw air from across the cavity, not just from directly beneath the unit
Existing roof condition: installing a new penetration into an ageing or already-compromised roof can expose or worsen existing issues nearby — worth having the surrounding roof condition checked as part of the job, not treated as a separate concern
Maintenance and expected lifespan
Standard whirlybirds: with sealed stainless steel bearings, a well-installed unit can run for well over a decade with minimal attention — an occasional visual check for corrosion, loose fixings, or a bearing starting to squeak is generally all that's needed
Solar whirlybirds: the solar panel benefits from an occasional wipe-down to clear dust, pollen, or salt residue (particularly relevant near the lake in Eleebana and Bonnells Bay), since a dirty panel reduces the unit's active extraction performance on the very still, sunny days it's meant to help with most
Mains-powered units: the electrical connection and switch/thermostat should be checked periodically as part of a general electrical safety check, alongside the same visual and bearing checks as the other types
All types: worth a visual check after any major storm, since high wind events are the most common cause of a dislodged or damaged unit
A note for exposed and heat-affected suburbs
This applies right across Lake Macquarie, but it's worth flagging for a couple of areas specifically. Eleebana's waterfront exposure means roofs often cop long, direct afternoon sun with little shade cover — exactly the conditions where roof cavity heat builds fastest. Bonnells Bay sees similar exposure on its more open, less tree-covered streets, where a hot, still afternoon with limited breeze off the lake is precisely when a standard wind-only whirlybird does the least and a solar unit earns its keep.
Relevant codes and standards
Whirlybird installation isn't a licensing-regulated trade task the way gas fitting is, but a properly done job is still guided by several Australian standards and the National Construction Code. Worth noting upfront: some of the figures commonly quoted in the industry (like "one whirlybird per 50m² of roof space") are supplier rules of thumb rather than a specific NCC clause — the actual code requirements are more specific and worth checking directly.
AS 1562.1:2018 — Design and Installation of Sheet Roof and Wall Cladding (Metal): this is the standard that governs correct flashing and penetration detailing for metal roofing generally, which is exactly what covers how a whirlybird base and backtray should be fitted and sealed on a metal roof. View the standard on the Standards Australia catalogue.
National Construction Code — Part F8, Condensation Management (roof space ventilation provisions): this is where roof space ventilation opening requirements actually sit in the NCC, specifying minimum free ventilation opening area for roof spaces, currently mandated for climate zones 6, 7 and 8, with extension to zones 4 and 5 proposed in recent ABCB consultation. This is the section to check for the actual current requirement for a given climate zone rather than relying on a generic per-square-metre rule of thumb. View Part F8 on the NCC website.
AS/NZS 1170.2 — Structural Design Actions: Wind Actions: relevant to how a whirlybird and its fixings are specified and secured against wind loading, particularly in more exposed positions like open waterfront sites around the lake. View the government reference listing.
Tile roofs: installations follow the equivalent tile-specific flashing and penetration principles rather than AS 1562.1 directly, since that standard is metal-roofing specific — the fixing method differs, but the goal (a fully sealed, correctly profiled penetration) is the same.
These are a useful starting reference rather than an exhaustive compliance checklist — the NCC in particular is revised every three years and current amendments are under active consultation, so it's worth confirming the applicable requirements for your specific climate zone and job at the time of installation rather than relying on general guidance alone.
Frequently asked questions
Do solar whirlybirds work on cloudy days?
Yes, though at reduced output. Most quality units keep drawing at least some power from ambient light on overcast days, and many include a small battery or capacitor to maintain limited airflow through low-light periods. Performance is best on clear, sunny days — which is also when roof heat is at its worst, so the timing works in your favour.
How many whirlybirds does my roof need?
It depends on your roof cavity's size and existing ventilation, not a single fixed number. Industry rules of thumb (like one per 50m²) are a starting point, not a compliance requirement — the actual NCC provisions sit under Part F8 and specify ventilation opening area rather than unit count. An on-site assessment is the only reliable way to size a job correctly.
Are solar whirlybirds worth the extra cost over standard whirlybirds?
For most homes with reasonable wind exposure, a well-sized standard whirlybird still does a solid job. Solar earns its higher price where a roof runs hot even on still days — sheltered positions, larger cavities, or waterfront suburbs with long, direct sun exposure and limited breeze.
What's the difference between a whirlybird and a solar roof ventilator brand like Solar Whiz?
"Whirlybird" traditionally refers to the wind-driven turbine design; solar roof ventilators are a separate, actively powered category that some brands (like Solar Whiz) market under a different name specifically because they work on a different principle. Functionally, they serve the same purpose — extracting hot air from a roof cavity — just via different power sources.
Is a mains-powered whirlybird better than solar?
Not universally better — it depends on the problem. A mains-powered unit gives you consistent, weather-independent airflow day and night, which solar and wind-driven units can't fully match. The trade-off is an electrician-required installation and an ongoing (modest) power cost. It's worth considering for a roof cavity with a persistent heat or moisture problem that standard or solar options haven't resolved, rather than as a default first choice.
Getting it right
Whirlybird installation looks simple, but getting the sizing, placement, and flashing detail right is what separates a unit that actually reduces roof heat from one that's just sitting there doing very little. Poor flashing around any roof penetration is also a common source of leaks down the track, so it's worth having it installed the first time properly.
If you're dealing with a hot upper floor in summer or a musty roof cavity in winter, get in touch with the team — we can assess your roof and tell you honestly whether standard or solar whirlybirds (or a mix) make the most sense for your specific setup.